We strongly suggest using LogisticsHub Collections to create your website. It’s a real time saver and a perfect example for beginners.
Before you start using collections
Elementor doesn’t allow SVG imports by default, you need to enable SVG uploads from Elementor settings. Otherwise, the images of the templates you import from collections will not be imported/will be displayed empty.
Importing a template
Open your Elementor post or page and click “add new section”. And click LogisticsHub Collections button.
The LogisticsHub Collections popup will open for you.
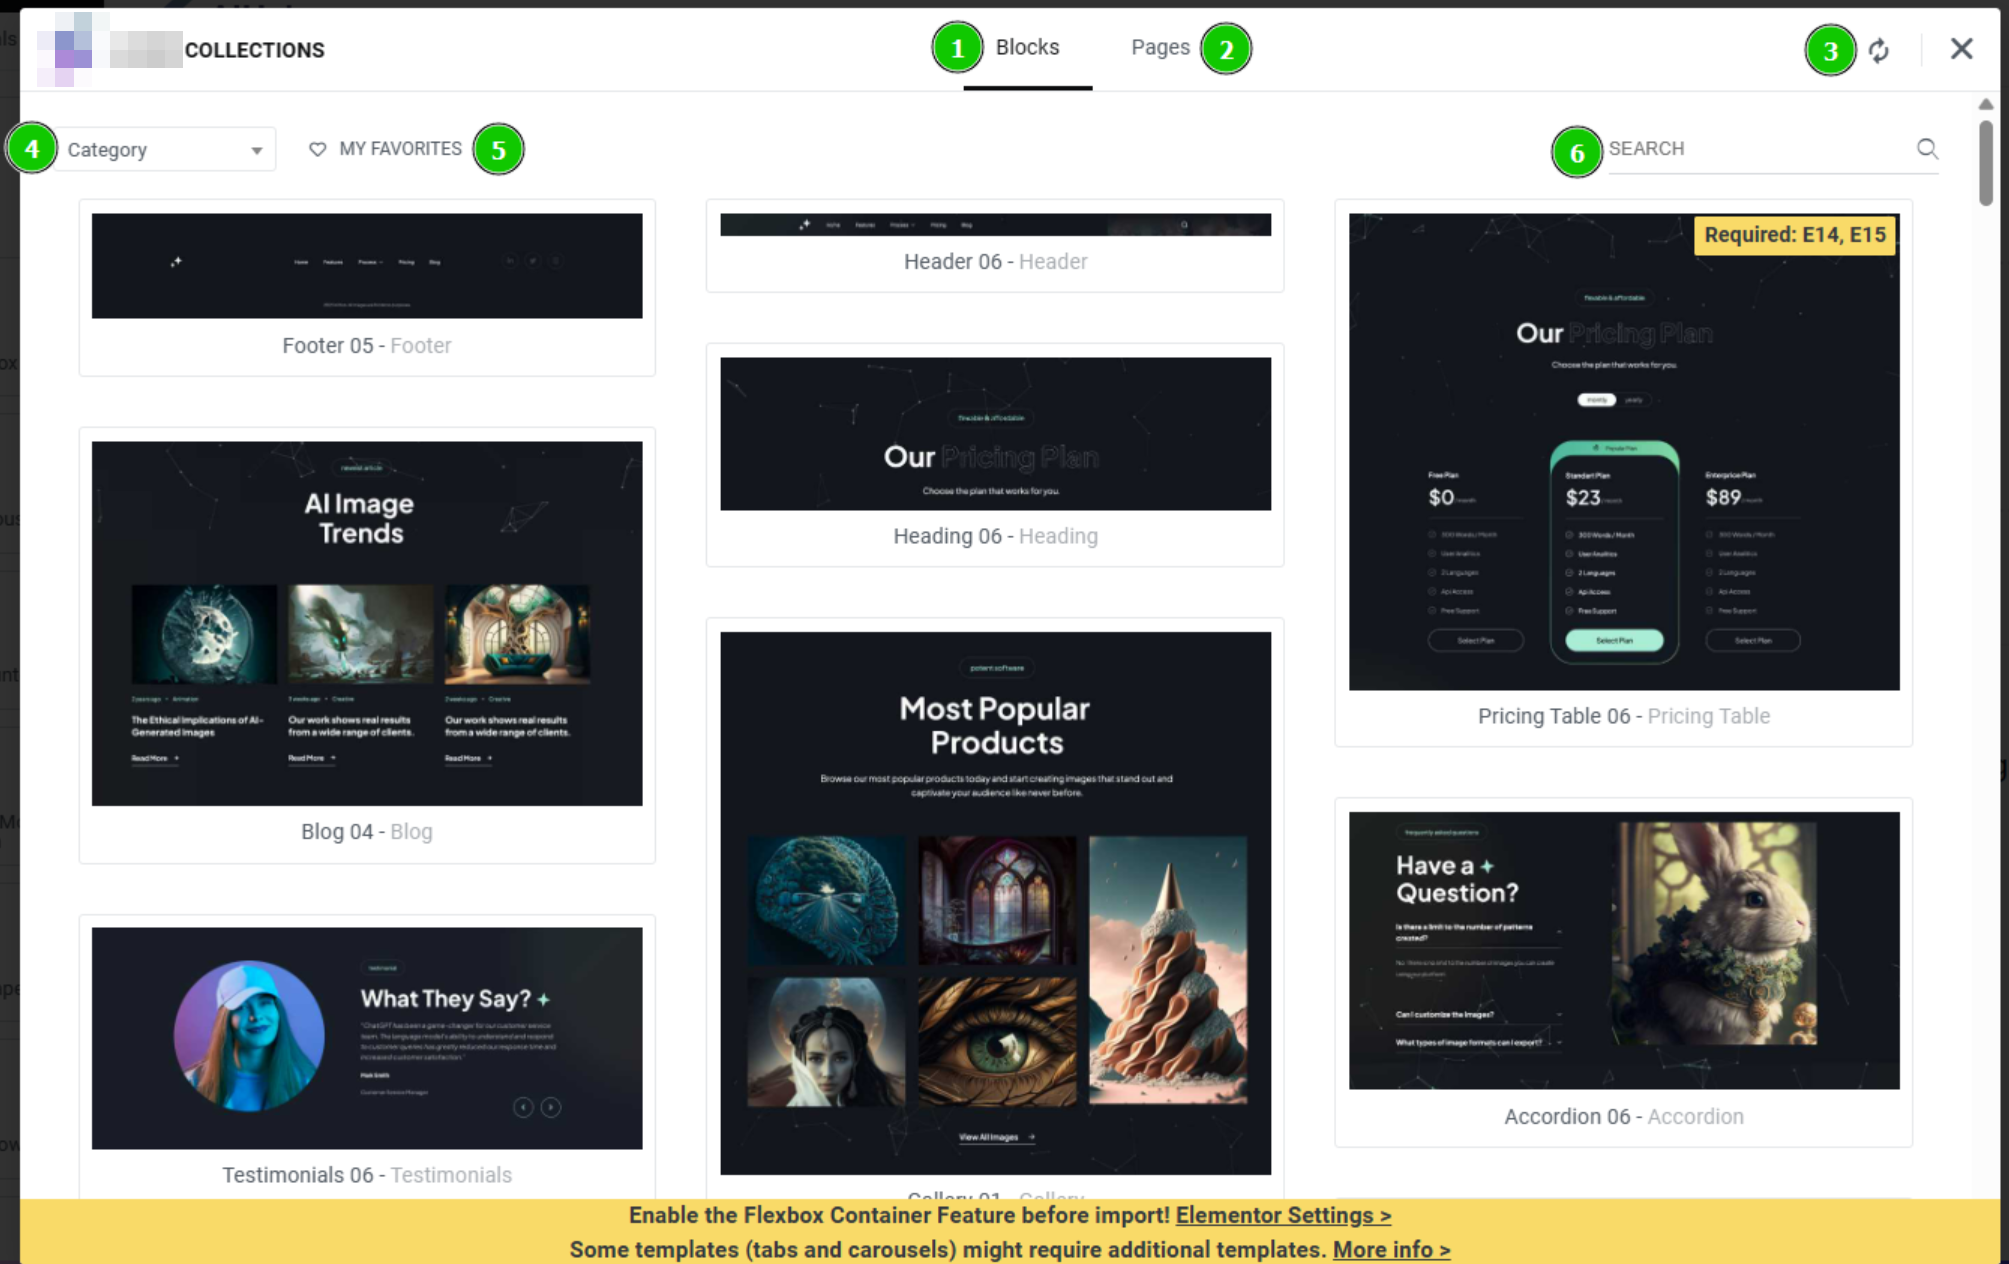
- Blocks: View all section templates.
- Pages: View all page templates.
- Sync: Sync new templates.
- Category: Filter for the template category you want.
- My Favorites: Filter the templates you add to favorites.
- Search: Seach template by name.

- Preview button: See a “live preview” of the template you are about to insert.
- Insert button: Insert the selected template.
- Add to favorite button: Add the template to your favorite list.
Hover over the template you want to import and click the Insert button. That’s all!
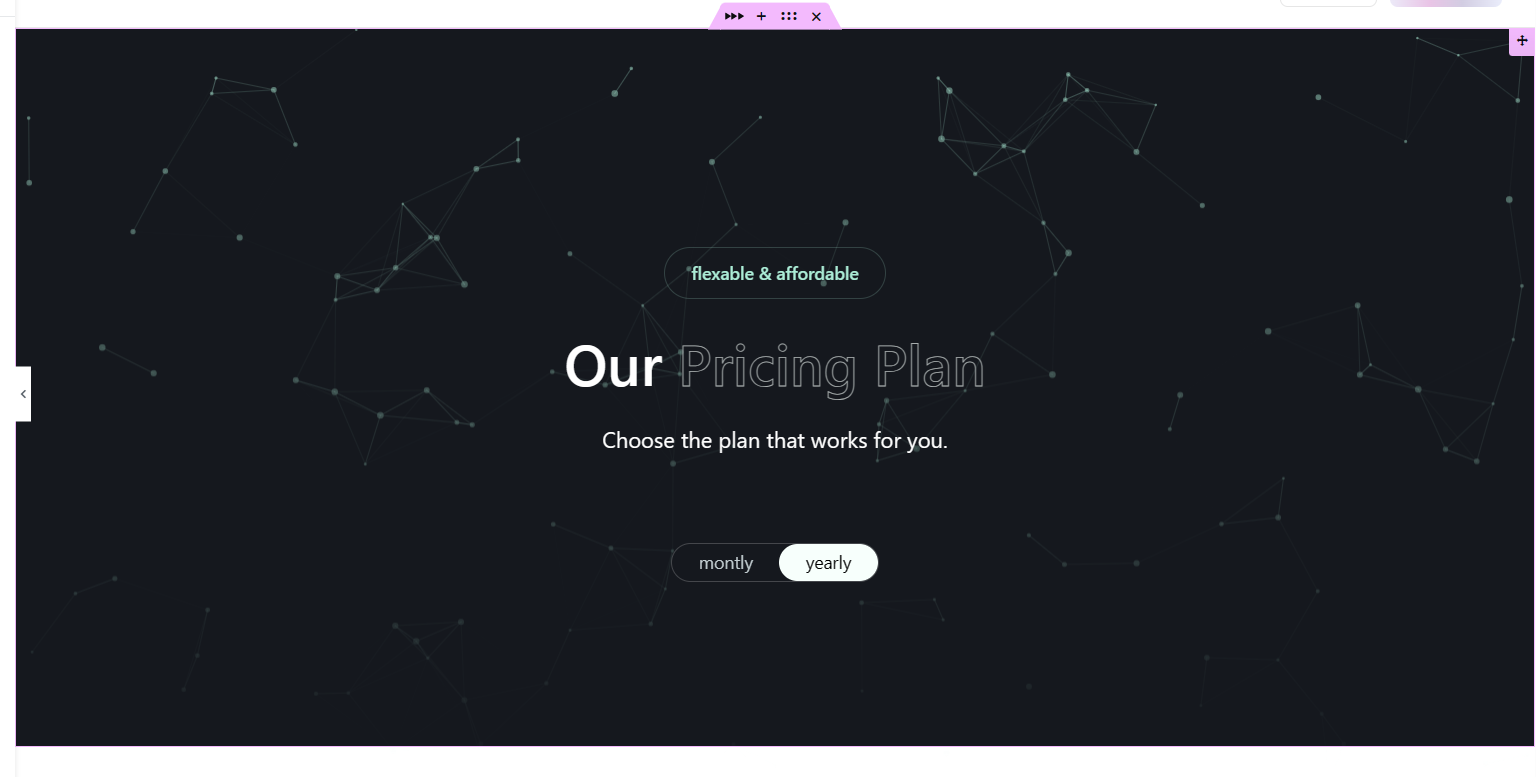
What are the required templates?
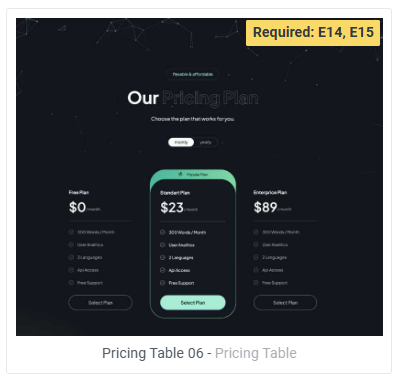
Templates labeled “Required E***”, which contain elements Liquid Tabs, Liquid Carousel, Liquid Flipbox etc., consist of more than one template and all templates must be imported separately, because the Elementor infrastructure does not allow importing more than one template at a time.
How to import a template with required templates?

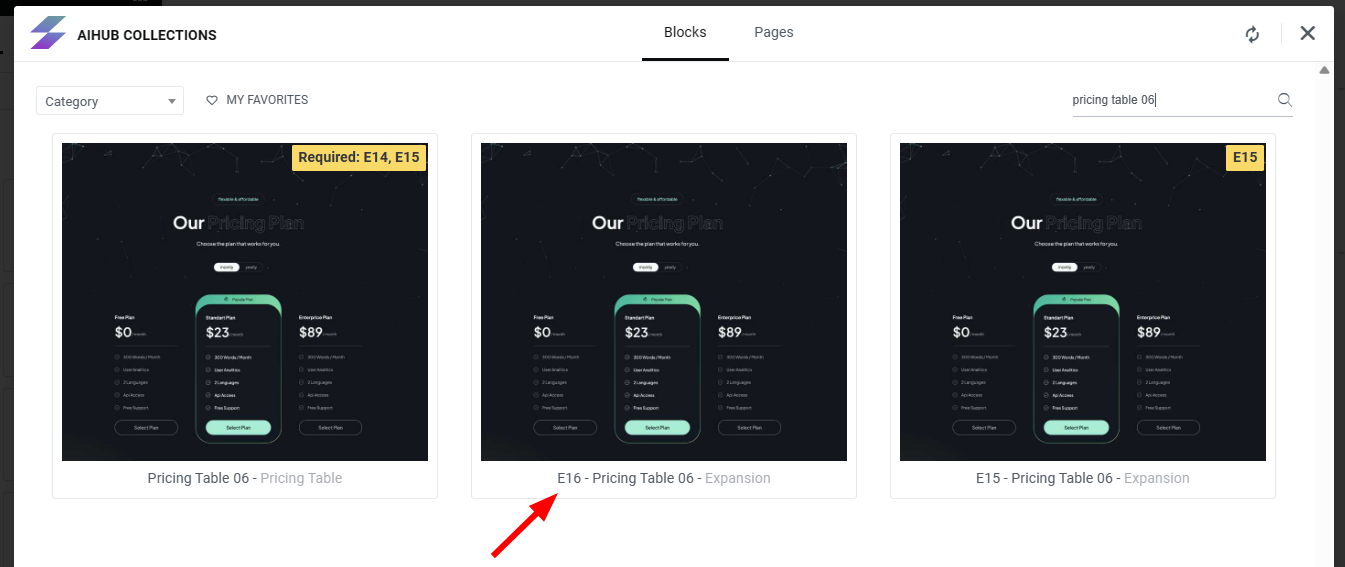
- First, choose a template and note the required tag in its corner.
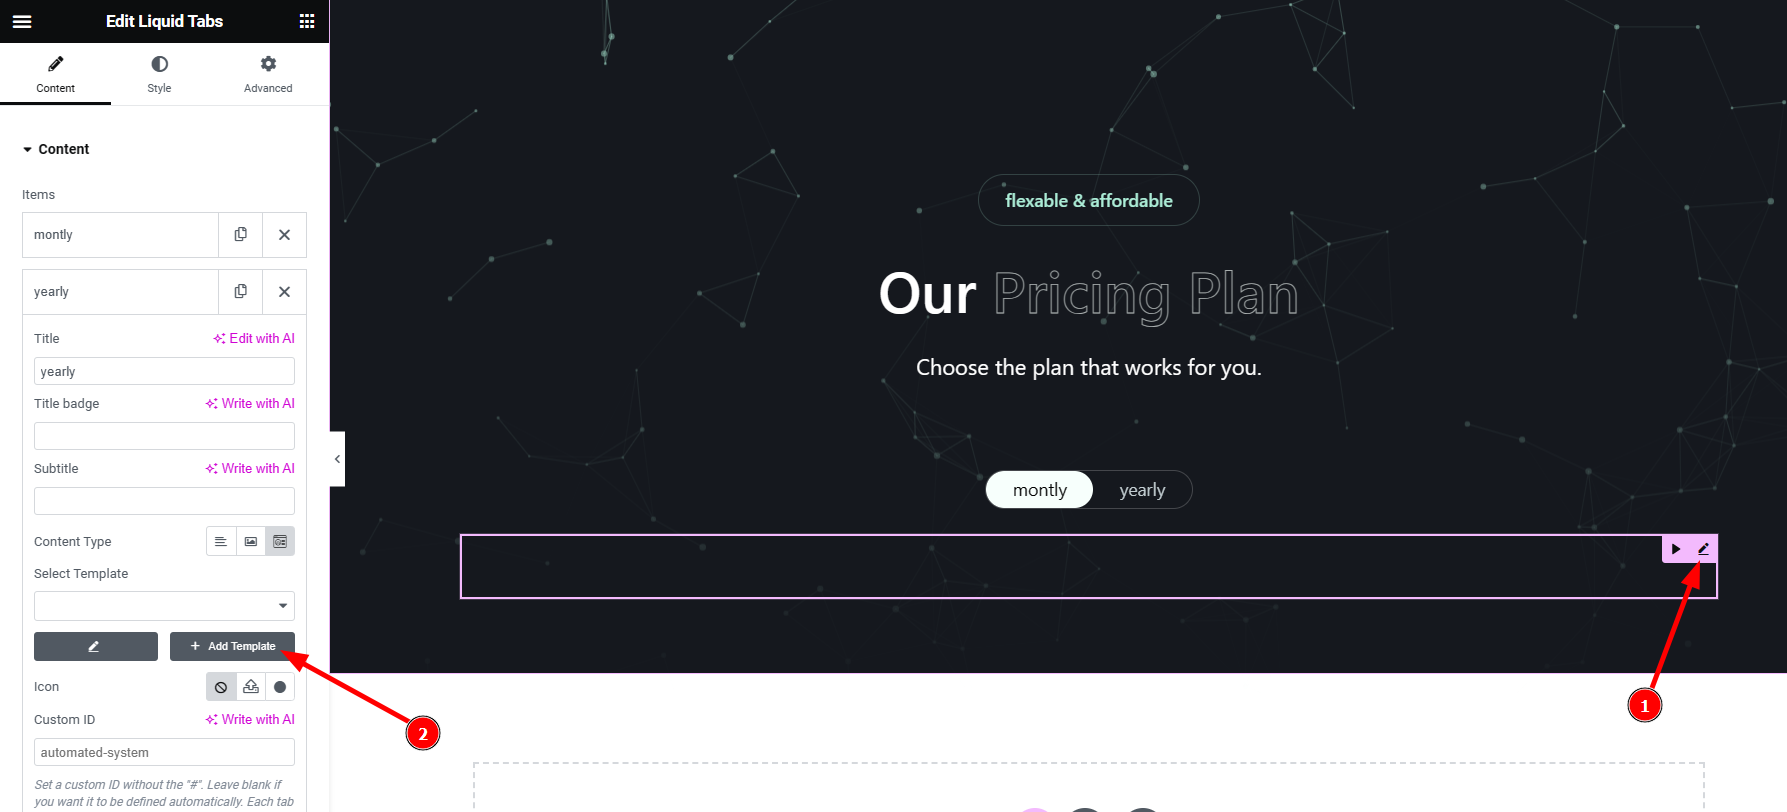
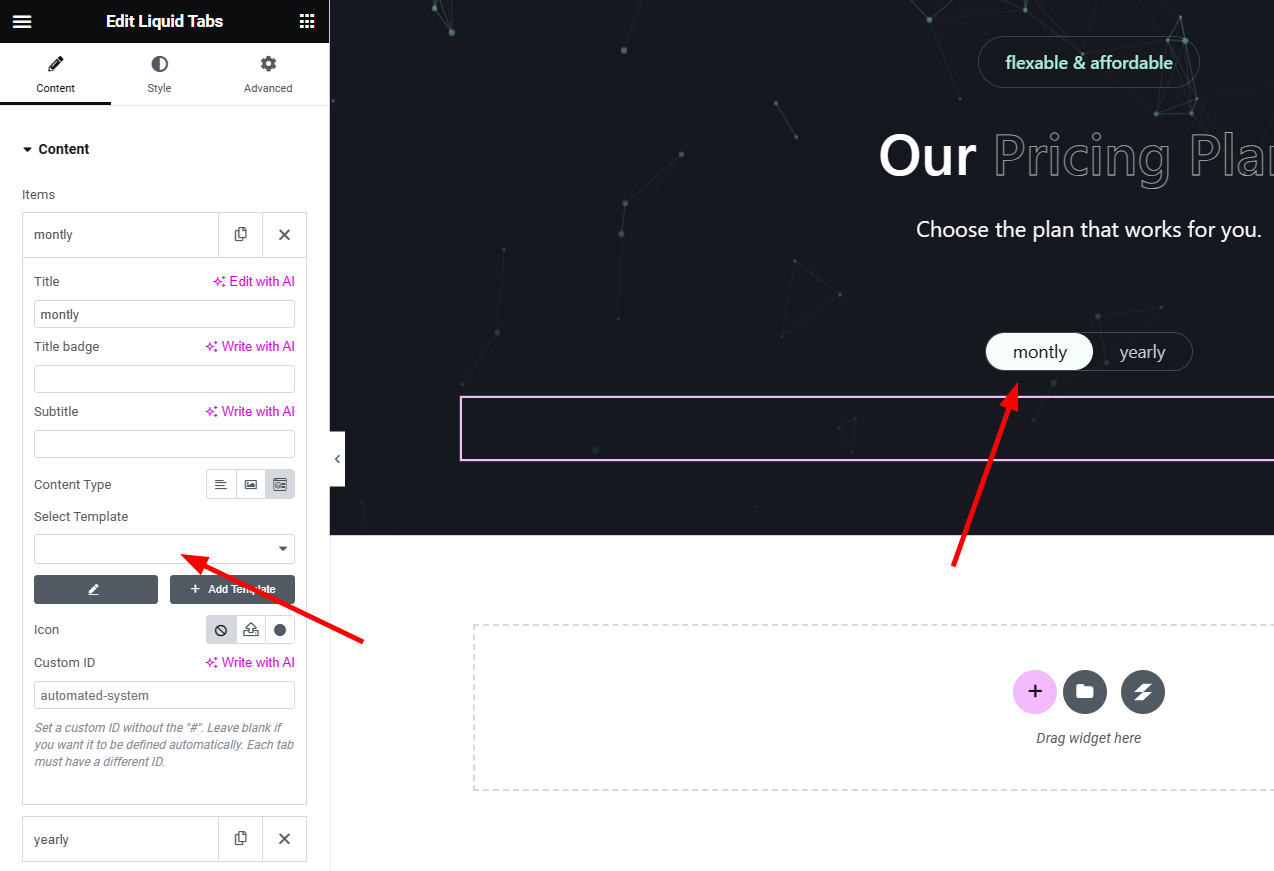
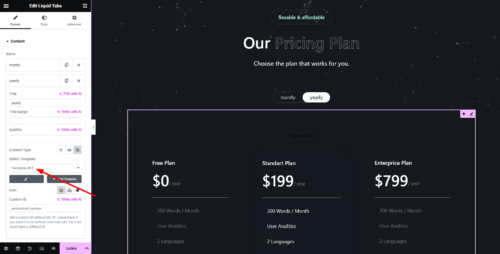
- Insert the template you choose to any page on your site. You will notice that the contents of elements such as tabs, carousel or flip box are empty, this is quite normal because you must import their contents separately.

- Click on the element with empty content (this can be a Tabs element, Carousel element, etc.) and click the Add Template button.

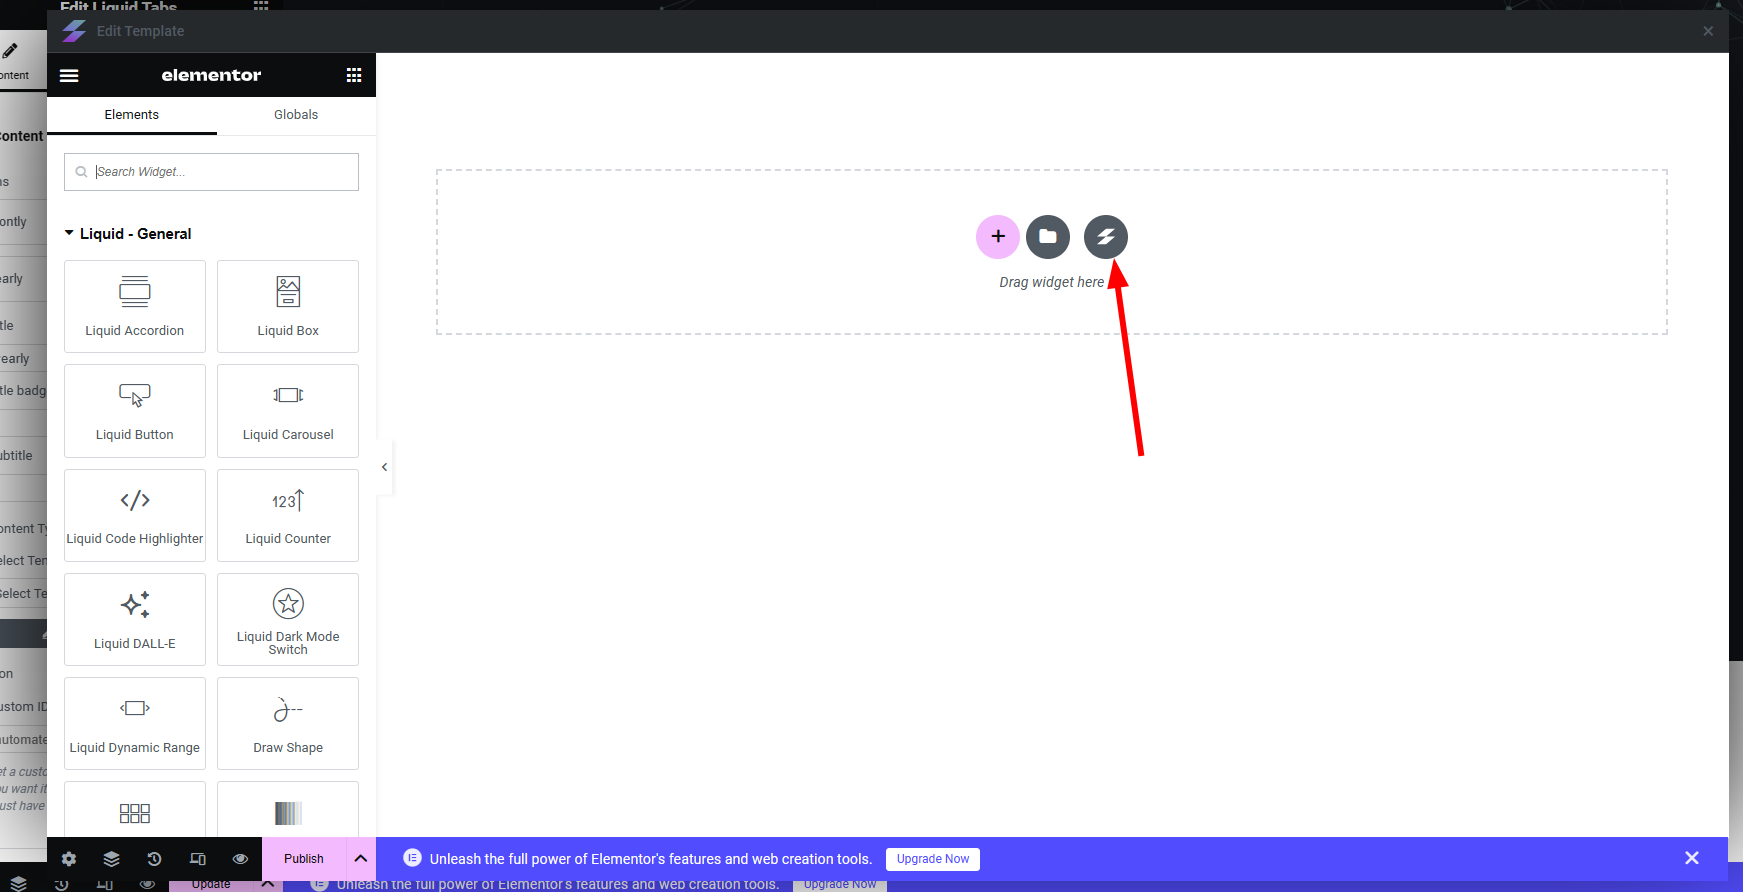
- A separate Elementor editor will open again in a popup. Open LogisticsHub Collections again from there.

- Insert one of the required templates and save your template.

- Return to the main template and refresh the page. After that, select the template you added and the content of the element will become visible.
- Repeat steps 3-6 for other required templates.

- That’s all! Now the main template should be working properly.