Accessing Header Design Options
- Open your header template with Elementor.
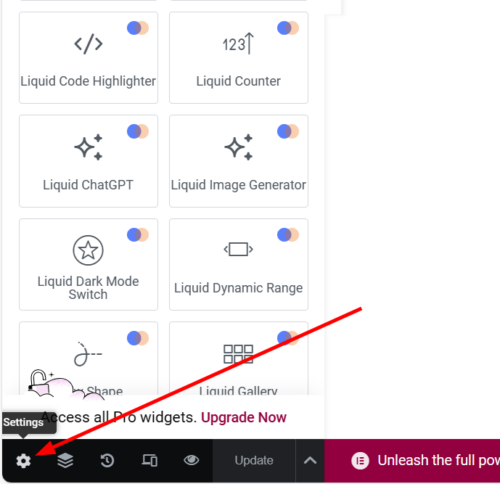
- Click on the settings icon at the bottom left corner.
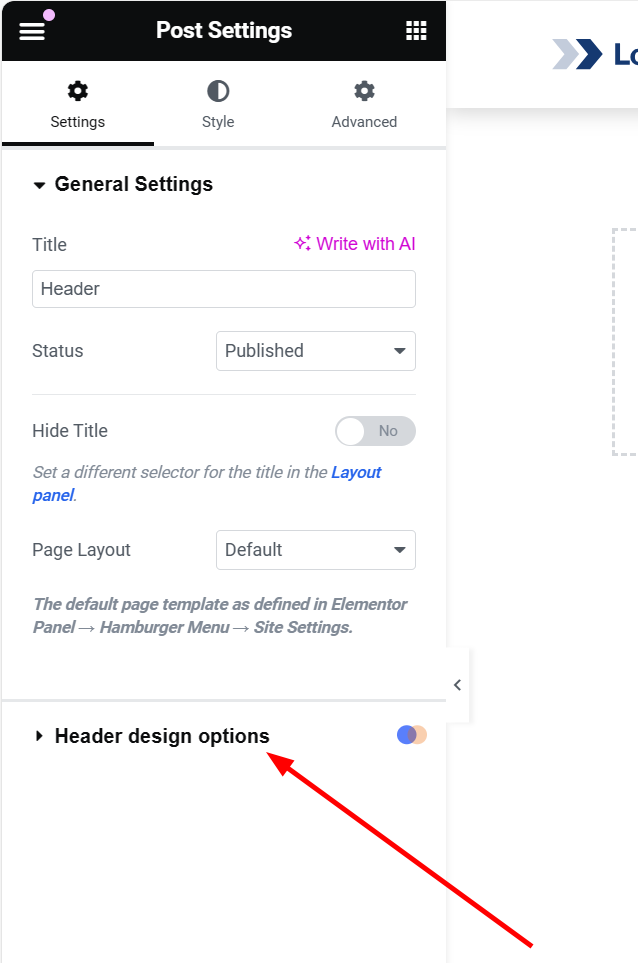
- Click on the “Header Design Options” tab.

- There you will see two options: Overlay and sticky header. Scroll down for more detailed information about these features.


Managing header overlay feature
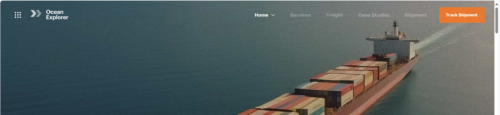
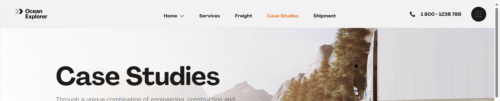
The header overlay feature enables your header to appear with a transparent background, overlaying the page content. When disabled, the page content will appear beneath the header. Check out the examples below to understand the difference:
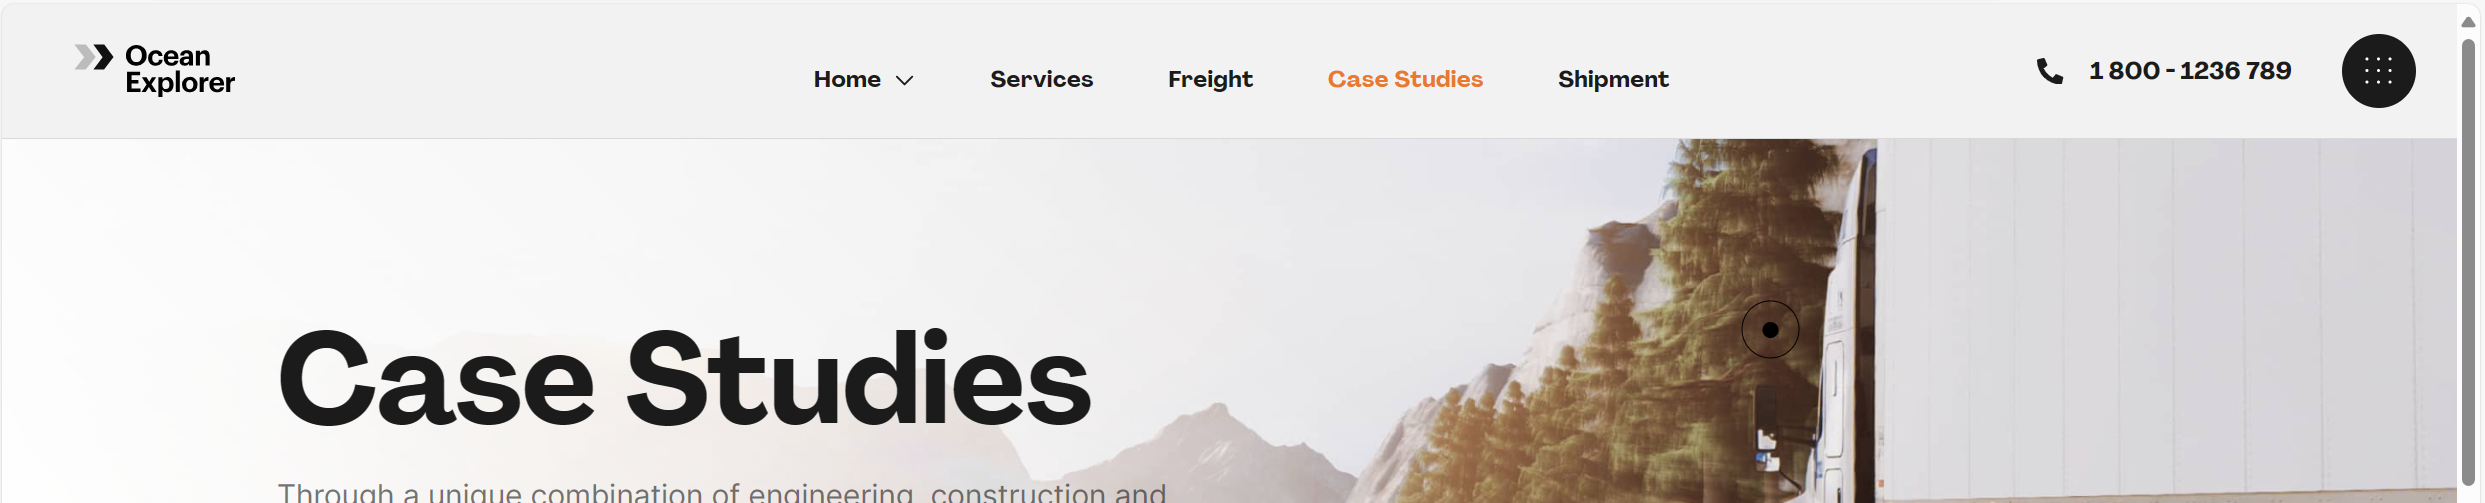
- Overlay enabled:
- Overlay disabled:

Managing sticky header
Activating the sticky header feature ensures that your header remains visible at the top of the page while scrolling.
Sticky header offset option
The sticky header offset option adds a gap between the header and the top edge of the browser, which becomes visible during scrolling.
Container Sticky Options
You can make your header look/behave differently when it is sticky by using the sticky header options of the containers in your header template.
Layout Sticky Options
– Hide on sticky elements or sticky header: This option hides the selected container from the sticky header.
– Show on sticky elements or sticky header: This option shows the selected container only when scrolling the page.
Style Sticky Options
Using these options, you can make your header have a different appearance when it is sticky.
Advanced Sticky Options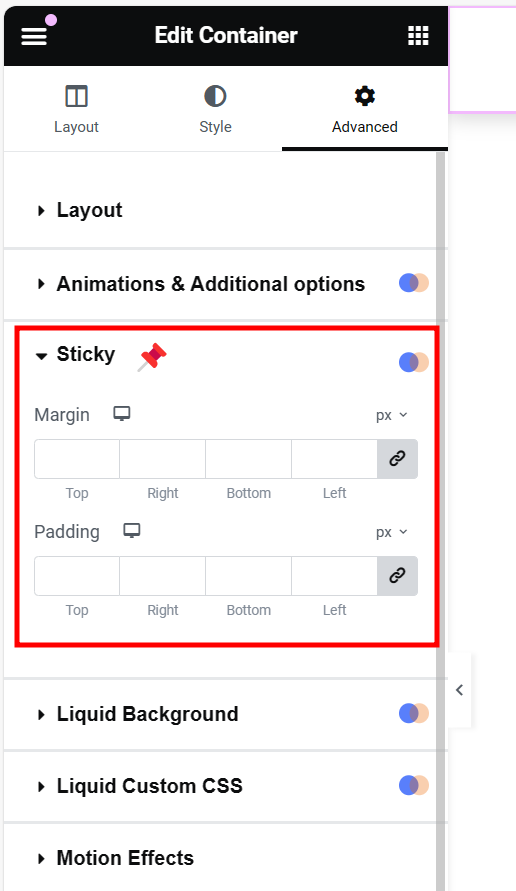
Using these options, you can make the container have different padding/margin values when your header is sticky.